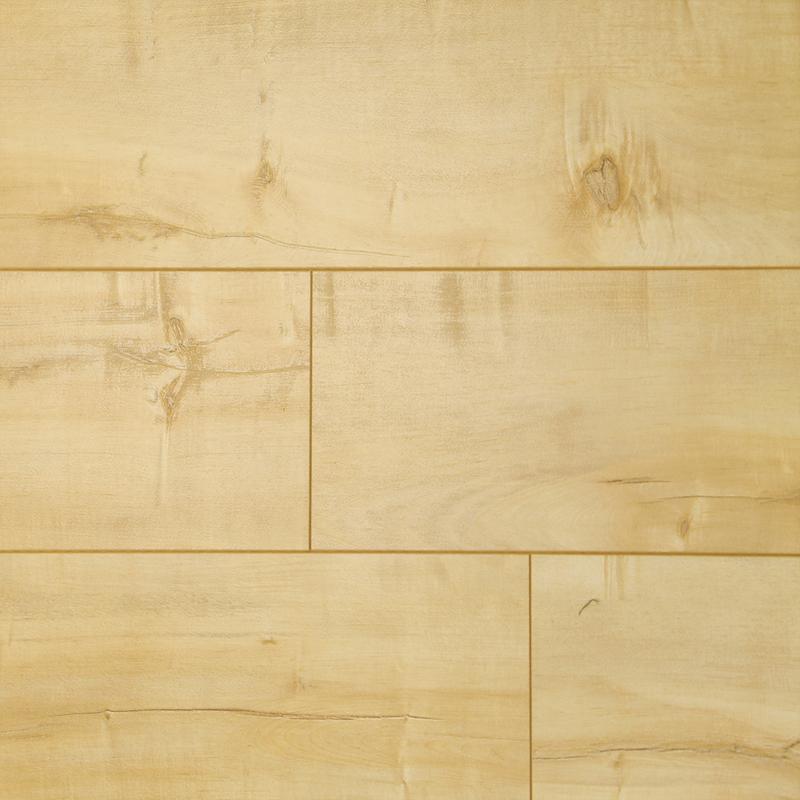
Installing wood flooring can be a great way to upgrade the look and feel of your home. Wood flooring can be a beautiful addition to any space, providing warmth and character to your home. However, if you have never installed wood flooring before, it can be a daunting task. In this article, we will provide you with a step-by-step guide on how to install wood flooring.
Before You Begin
Before you begin, it is important to understand that installing wood flooring is not a quick or easy process. It requires a significant amount of time, effort, and attention to detail. Therefore, it is important to set aside enough time to complete the installation process properly.
The first step in installing wood flooring is to determine what type of wood flooring you want to install. There are two main types of wood flooring: solid wood flooring and engineered wood flooring. Solid wood flooring is made from a single piece of wood, while engineered wood flooring is made from multiple layers of wood that are glued together. Solid wood flooring is typically more expensive and harder to install, while engineered wood flooring is easier to install and more affordable.
Once you have decided on the type of wood flooring you want to install, you need to calculate how much flooring you will need. Measure the length and width of the room you want to install the flooring in, and then multiply these measurements to get the total square footage. You should also add an extra 10% to the total square footage to account for any waste.
Preparing the Subfloor
Before you can install the wood flooring, you need to prepare the subfloor. The subfloor should be clean, dry, and level. If the subfloor is uneven, you may need to use a leveling compound to level it. If the subfloor is made of concrete, you will need to install a vapor barrier to prevent moisture from seeping through the subfloor and damaging the wood flooring.
Installing the Underlayment
The next step is to install the underlayment. The underlayment is a thin layer of material that is placed over the subfloor to provide a smooth, level surface for the wood flooring. The underlayment also helps to reduce noise and absorb moisture.
There are several types of underlayment available, including foam, cork, and felt. Foam is the most popular type of underlayment because it is affordable and easy to install. Cork is a good choice if you want to reduce noise, while felt is a good choice if you want to absorb moisture.
To install the underlayment, simply roll it out over the subfloor and use a utility knife to cut it to size. Be sure to overlap the edges of the underlayment by about 1 inch.
Installing the Wood Flooring
Now it’s time to install the wood flooring. The installation process will vary depending on the type of wood flooring you have chosen.
For solid wood flooring, you will need to nail or glue the boards to the subfloor. To do this, start by laying the first row of boards along the longest wall in the room. Make sure to leave a 1/2 inch gap between the boards and the wall to allow for expansion. Use a pneumatic flooring nailer to nail the boards to the subfloor, or use a flooring adhesive to glue them in place.
For engineered wood flooring, the installation process is typically a floating floor installation. This means that the boards are not glued or nailed to the subfloor, but instead are interlocked and laid on top of the underlayment. To install engineered wood flooring, start by laying the first row of boards along the longest wall in the room. Make sure to leave a 1/2 inch gap between the boards and the wall to allow for expansion. Use a tapping block and a mallet to lock the boards together.


